Category: General

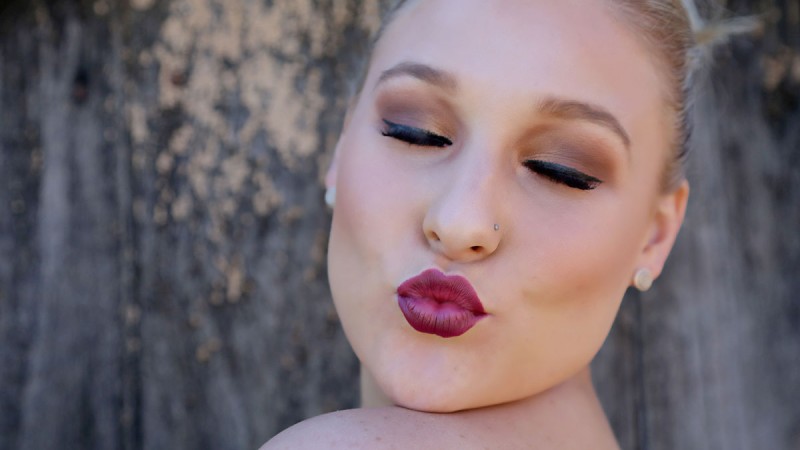
When it comes to choosing a lipstick colour, it’s not as easy as it looks. It’s like being a kid at a candy store again – they all look so good standing up in their perfect position like little soldiers as you decide which one you’re going to pick up first.

When picking a lipstick colour be mindful of the different undertones; red isn’t just red. You have got your cool undertones, your warm undertones, your blue reds, your orange reds… confusing right?

There are so many different ways to choose a lipstick. Some say base the lipstick colour on your skin tone and others say base it on your lip colour.

I think when choosing a nude lipstick, base this on your lip colour. You want to go one to two shades darker than your natural lip colour. If your lip colour has more of a deep tone to it, go for those apricot nudes as this will cancel out any of the darkness in your lips.

When choosing those bright/deep colours, I would base this on your complexion. For someone with more of a pale complexion, go for more of those cool tones – steer clear from brown undertones and head more towards those apricot peach colours.

If you’re a medium/olive complexion, go for the warm undertones and those brights colours, or if you’re a dark complexion, think deep plums and also bright colours, but be mindful of nudes as it can look too washed out.

For those of us who tan, the bright red that we fell in love with at the shop, but did not quite suit our pale complexion, will most likely look like the colour was made for us after we’re tanned!

No matter who you ask I guarantee someone will tell you something different. My best advice is sit down and try those colours on.

To me personally there is no right or wrong colour. Sure, some colours suit you better than others, but if you like that colour then own it, it really is what you feel comfortable wearing.

Korryn xx

It all started to trend with Kim Kardashian. You only have to say the name and yep, you got it – contouring. Contouring has been used for years by makeup artists, but only in more recent years it has started to grab everyone’s attention. Now contouring is becoming a big part of everybody’s daily makeup routine.

What is contouring? Contouring is a shading technique used to trick the eye into thinking that certain facial features are enhanced and defined. If done properly you can even change the look of your face. Contouring can make your nose smaller, eyes bigger and cheekbones more defined.

When contouring you want to make sure you pick the right product for your face. First of all, you want to grab a ‘matte’ bronzer powder or cream, whichever you prefer. Just keep in mind if you’re more on the dry side, it’s best to use cream, and if you’re on the oily side, use a powder.

You want your contour to be one to two shades darker than your skin tone. Any more than this and it can become too noticeable and unflattering to the eye. If you’re a fair skin tone, you want your contour to have a cool undertone and you want steer away from anything too orange/red based.

Grab your dark colour and apply it under and along your cheekbones, down the sides of your nose, along the hairline on your forehead and temples. Just be mindful when contouring your shading, so for instance, if you have a small forehead I do not recommend contouring along the hairline, as this can create the effect of your forehead looking even smaller. Instead, you would want to highlight to make it look bigger.

When contouring your cheekbones, you want to contour the hollows of your cheeks and the best way to do this is to suck them in and then apply your product. When doing this make sure you blend upwards using your brush or sponge, because you want your cheekbones to look enhanced.

Highlighting is all about opening and bringing forward areas of the face; anything you really want to stand out. You will highlight, for example, the bridge of your nose, above your cheek bones, under eyes and cupid’s bow.

Contouring and highlighting can be done in so many different ways, you can grab a shade darker in a foundation and a shade lighter in a foundation to do more of a dramatic contour. With contouring and highlighting it’s all about blending and, remember, its a lot easier to add more product than to take it away.

Above is video of a daily contour routine – I hope you enjoy!

Korryn xx

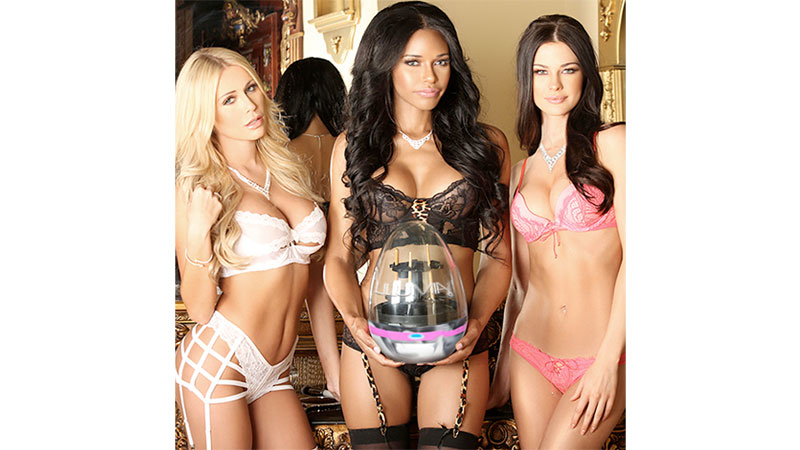
There is nothing more time consuming than having to clean your makeup brushes; if only there was a machine that would do all that for you. Oh wait, there finally is! Yep, that’s right, your very own makeup brush washing machine. No more wrinkly fingers from sitting under the tap swishing your makeup brushes around.

Entrepreneur Fierra Cruz has invented just this, it’s called LILUMIA. Fierra realized there was nothing on the market to help her clean her makeup brushes, however as a model she realised how important it is to keep her brushes clean.

The Lilumia makeup brush cleaning device holds up to six brushes at a time and cleans them within 15 minutes. The only work you have to do is clip in your brushes, add soap and water, and wallah they’re ready to dry.

It comes in three different colours and will be available exclusively on their website at www.lilumia.com, launching August 7th 2015, and will retail at $149.00 in the US. Now you can enjoy washing your makeup brushes at the press of a button!

Korryn xx

Recently I went away on holidays and the one thing we all hate doing is packing. Is it going to be hot, cold, raining? And before we know it we have our whole wardrobe in our suitcase and no space to bring anything back.

As a makeup artist, the hardest thing I find packing is my makeup bag. I tend to think I am going to need everything from my lightest foundation to my darkest foundation (better to be safe than sorry, right?).

I realised when I went to zip my makeup bag shut, that it got a bit out of hand – mind you I was only going for three days and probably had enough makeup to do a whole wedding party! So here’s my top three products I travel with:

1. Napoleon Perdis BBB Cream $55.00: I personally don’t use a primer, only because my BB cream has priming effects in it. Not only does it act as a primer for me, but it also gives me a minimal coverage, which I love, and it was perfect to wear on the plane trip. If you’re heading to a warmer destination I also think this is perfect as most BB creams/tinted moisturisers have SPF in them, so it help’s protect against the sun and also evens out the skin tone without being too much.

2. Two Faced Chocolate Bar Eyeshadow Palette $65.00: This palette is my all-time go-to palette – I do not think I have ever done a makeup without it. Not only does it smell like chocolate, it’s like a four in one. I use this for my eyebrows, highlighter, eyeshadow and you can even use it to contour. This saved me packing all those extra products. This palette contains 16 eyeshadows to take you from a day look to night look. This product is a must-have!

3. Hourglass Femme Nude Lip Stylo $39.00: This the perfect go-to nude lipstick; it comes in multiple colours to suit all different skin tones. It is very hydrating and moisturising, so I wear this on every occasions whether it’s going out or during the day.

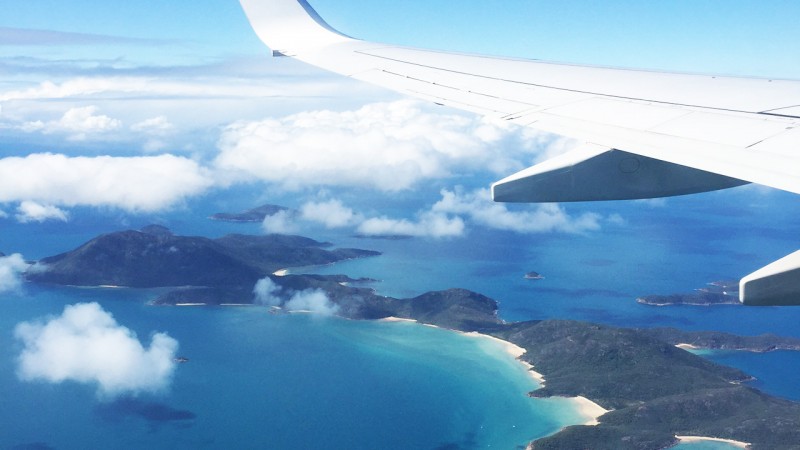
Don’t forget to pack some makeup wipes and skin cleansers with you, most skincare brands have travel sizes you can buy. Above is a photo of our plane leaving Hamilton Island and I highly recommend this place. Safe travels everyone!

Korryn xx

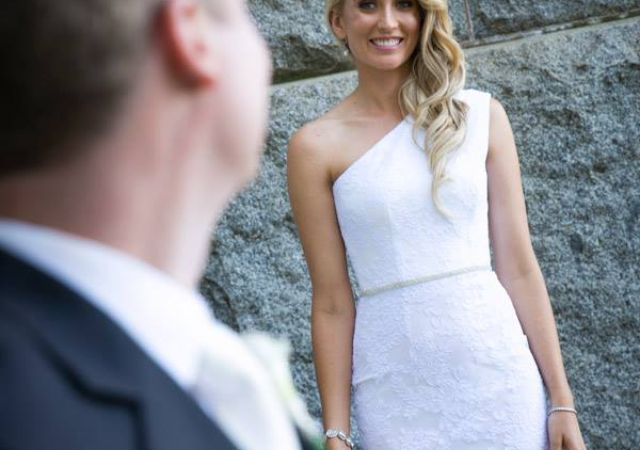
As a makeup artist, to be a part of someone’s wedding day is indescribable. It is something so rewarding and beautiful to be part of, knowing that you are playing a little part in their day and it leaves a big impact on you. No matter how early the morning or how far I have to travel, I always walk away loving what I do.

Over the years I have done many weddings and no matter how big, little, fancy or low key the wedding is, each bride will ask me for a similar makeup look.

As a bride it’s important to look flawless, but to still look like ‘you’. You want more of a natural look with neutral colours, but a touch more than neutral so it stands out in photos. Well don’t worry, I know exactly what you want!

Whether you choose a makeup artist or you’re doing it yourself, my best advice is to gather ideas or images – whatever it may be – so you have something to refer to. Sometimes it can be really hard to get an idea of what you’re after as everyone has different methods of explaining their requirements.

For example, you may refer to a smokey eye as black shadow blended over the whole lid, but in fact there are many types of smokey, which doesn’t always have to be black – it can be done with any colour. So just make sure you are both on the same page to ensure you don’t walk away disappointed.

Make sure the foundation you use is right for your skin and if you’re an oily skin type, you want a long wearing matte foundation. If you’re a dry skin type, you’ll need more of a dewy foundation. I recommend trying out the foundation before your big day, so you’re confident it will last all day and that it will give you the look that you want.

Another important thing in picking your foundation is how much SPF it has. The lower, the better, or even better for photography purposes is none at all.

Although having SPF in your foundation is a good thing in most instances, it’s not ideal for your wedding photos due to causing flashback. Ever looked at your photos and wondered why you look like a ghost? Well, you have SPF to thank for that!

Your makeup may be a minor part of your whole wedding preparations, but a great look will do wonders for your confidence and really add to the special memories created on the day. That’s what we’re here for and, personally, it’s one of my favourite parts of the job!

Korryn xx


Contact

Contact Bella Kreations to make an enquiry and for further information regarding all of our services and pricing options using the below contact form.

Name
Email
Message

Thank you for your enquiry. We will be in touch shortly.
Error. Please resubmit the form and try again.
Bella Kreations © Copyright 2016